Many teams leverage the power of SFDX to add automation to their projects to do away with redundant tasks. This can be part of CI/CD to automate elements like running code, conducting quality checks, or automating part of the deployment pipeline.
The article discusses the limitations of SFDX automation, such as the need for developers to understand the SFDX CLI, manage complex metadata dependencies, and deal with performance issues due to CLI and network latency.
Hutte offers custom buttons for SFDX automation, allowing tasks like importing data sets and running quality checks to be triggered from a visual UI, making it accessible for non-coders and reducing the learning curve for contributors.
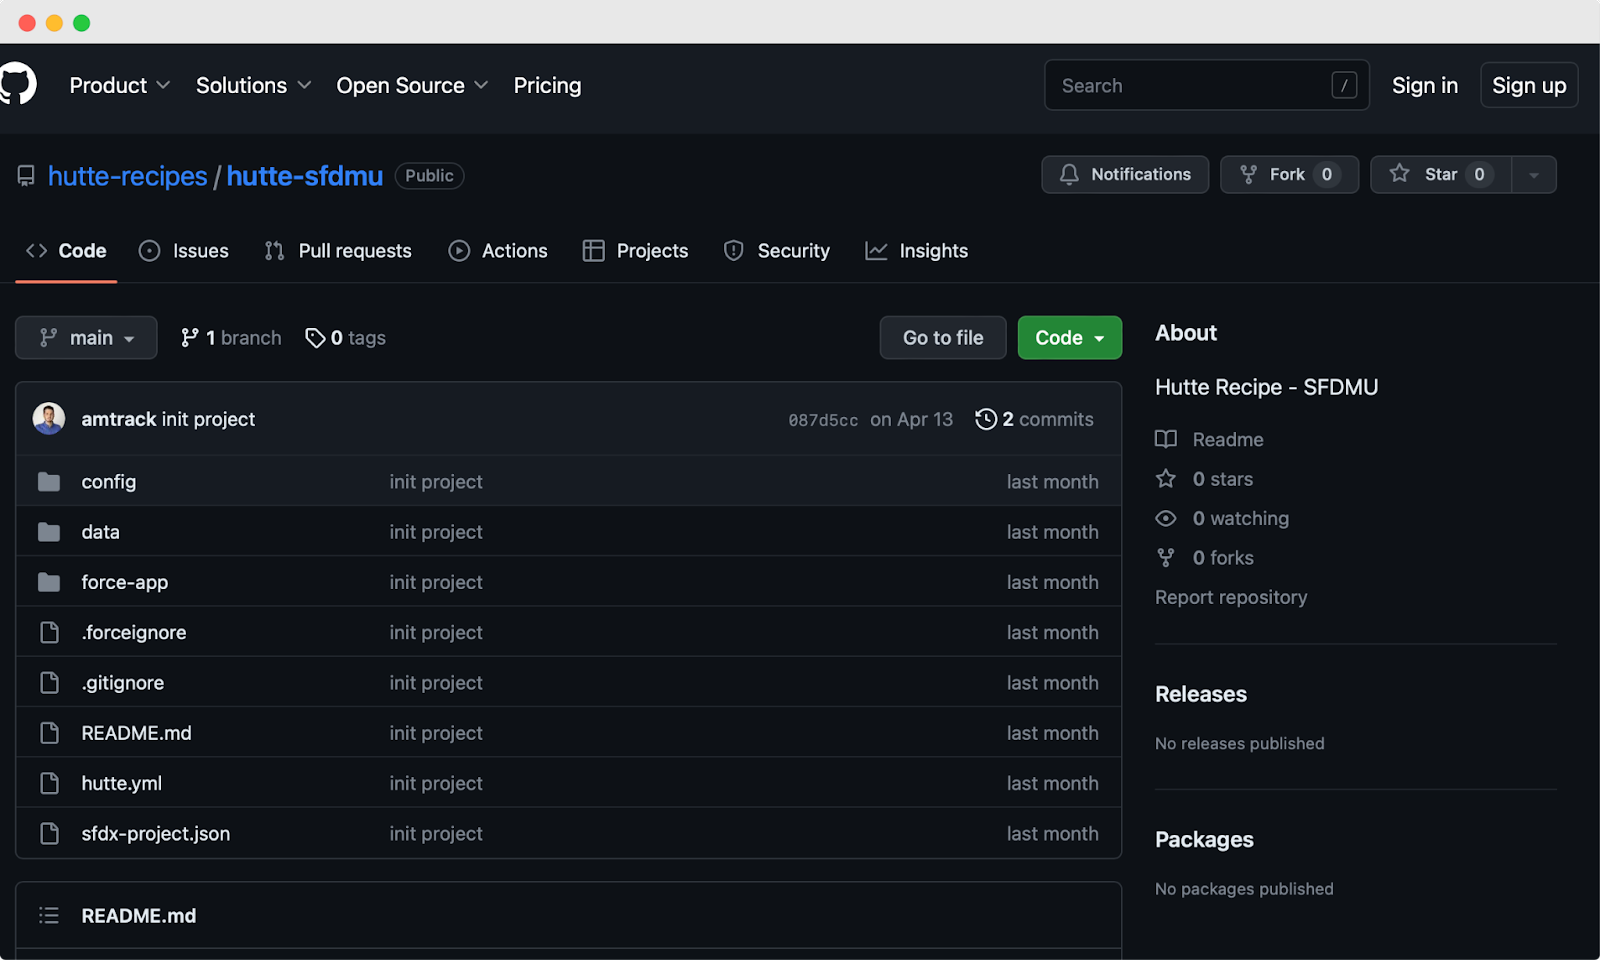
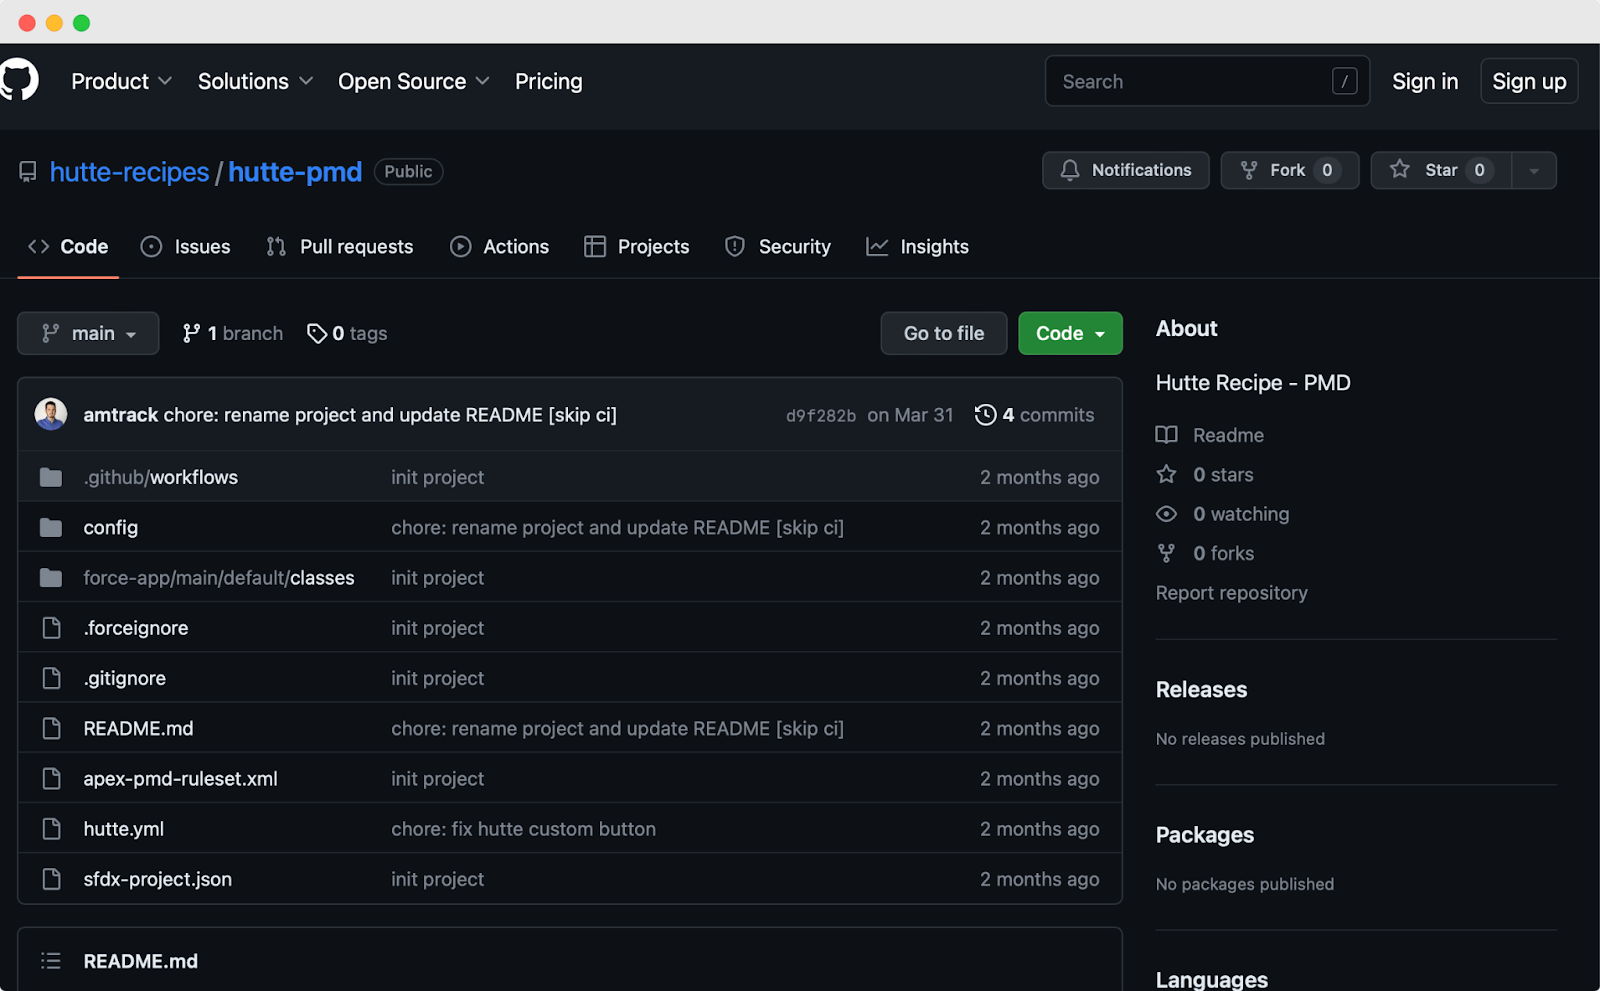
The page provides detailed “recipes” for using Hutte’s custom buttons to automate tasks in Salesforce development, such as loading seed data with SFDMU and performing static code analysis with PMD.
But already in the phase of creating and working on the actual source and code of the project, automation can come in handy.
For example, it can help to individualize the shaping of development environments in a reproducible way.
SFDX automation, like any technology or system, has certain limitations:
SFDX automation requires developers to become familiar with the SFDX CLI and the underlying concepts of the Salesforce platform.
Salesforce applications often have complex dependencies among metadata components. SFDX automation requires developers to manage and deploy these dependencies to avoid issues.
Although SFDX provides support for many metadata types, some are still not fully supported or not supported at all.
SFDX automation relies on CLI and network communication with the Salesforce platform, which can introduce latency and impact performance. SFDX automation provides limited control over the managementof sandboxes.
Are you looking to leverage SFDX automation to its fullest? We have the solution for you at Hutte.
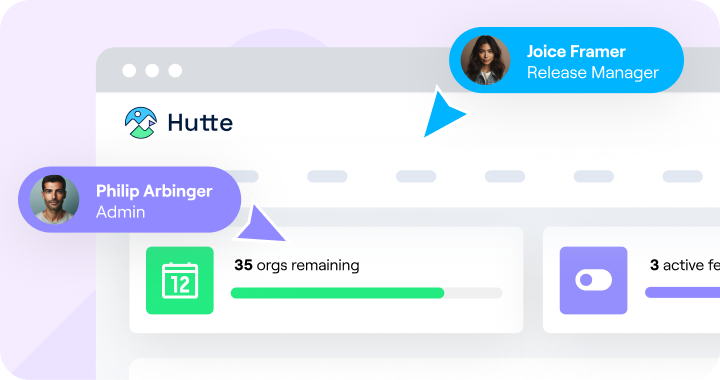
Hutte has custom buttons
You can access the automation using a custom button, like importing CDATA sets as a no-coder, from Hutte’s visual UI.
🏃♂️
The typical use cases for custom buttons allow teams to trigger quality checks that would run on automation (on the CI) when they submit the pool request.
Exposing these requests helps contributors run such code bases, reduce their learning curve, and improve their progress by triggering automation from the UI before submitting the code for review.
The fantasy of automation is working in SFDX without any limits. With Hutte, all tasks in your development lifecycle can be automated or assisted by automation.
You can have assisted code reviews by running quality checks automatically before a manual reviewer does their final review and approval step.
Look at how you can visually utilize SFDX through Hutte’s Custom Button Recipes.
Hutte’s Custom Button Recipes on GitHub are publicly available. We also have mutations for GitLab, Bitbucket, and Azure.
🧑🍳
There are two recipes we want to mention.
Hutte is truly one of the best tools that we use. Product owners, Salesforce solution architects, business analysts — anyone on our team can easily and visually accomplish the tasks that would otherwise take a lot of clicks, time, and coding.
Harald is the Co-Founder of Hutte, bringing his vision of no-code DevOps to life. His passion enables teams and individuals to focus on what matters most – bringing value to the users they build for.
Samantha is Hutte's Content Manager and Chief Editor. She has over six years of experience as both a content writer and a copywriter. Bringing the written word to life is the name of her game.