Calling all Salesforce aficionados! If you're not tracking changes in Salesforce metadata, it's like driving a car without a seatbelt. Sure, you might get to your destination, but if something goes wrong, it's going to be a bumpy ride.
Harald is the Co-Founder of Hutte, bringing his vision of no-code DevOps to life. His passion enables teams and individuals to focus on what matters most – bringing value to the users they build for.
Samantha Spiro
Senior Content Manager & Editor-In-Chief
Samantha is Hutte's Content Manager and Chief Editor. She has over six years of experience as both a content writer and a copywriter. Bringing the written word to life is the name of her game.
Article highlights
Hutte.io's "Trails" system simplifies tracking changes in Salesforce metadata by automatically recording modifications, creating a comprehensive log of version history for easier management and auditing.
Metadata insights are provided in detail through differentiated comparison views, highlighting changes at the field, object, and configuration levels, allowing for a granular understanding of Salesforce modifications.
Integration with CI/CD pipelines enables seamless deployment and rollbacks, with metadata versioning creating an efficient and traceable development cycle that benefits teams working collaboratively on Salesforce projects.
Tracking changes in Salesforce metadata allows you to see who made changes when they made them, and what was changed. It's like having a virtual Inspector Gadget that keeps tabs on everything happening in your Salesforce org.
With this information, you can quickly identify and address any issues, prevent unwanted changes, and ensure that your org is running smoothly.
Think of it as keeping a diary for your Salesforce org.
📖
Just like a diary helps you keep track of your daily activities and memories, tracking changes in metadata helps you keep a record of your org's history, ensuring that you never forget what happened and when it happened.
However, tracking changes in Salesforce can pose several challenges, including:
Complexity of the platform
Salesforce is a powerful and comprehensive platform that offers a wide range of tools and features. However, this complexity can make it difficult to track changes, particularly for non-technical users.
Limited tracking options
Salesforce provides limited built-in tracking capabilities, making monitoring changes to metadata, including custom fields, objects, and workflows challenging.
Fragmented development
Salesforce development often involves multiple teams working on different parts of the platform, making it difficult to keep track of changes across the entire system.
Collaboration
Collaboration between developers, admins, and other stakeholders can be complex, particularly when working on complicated projects with multiple moving parts.
Git workflows have limitations
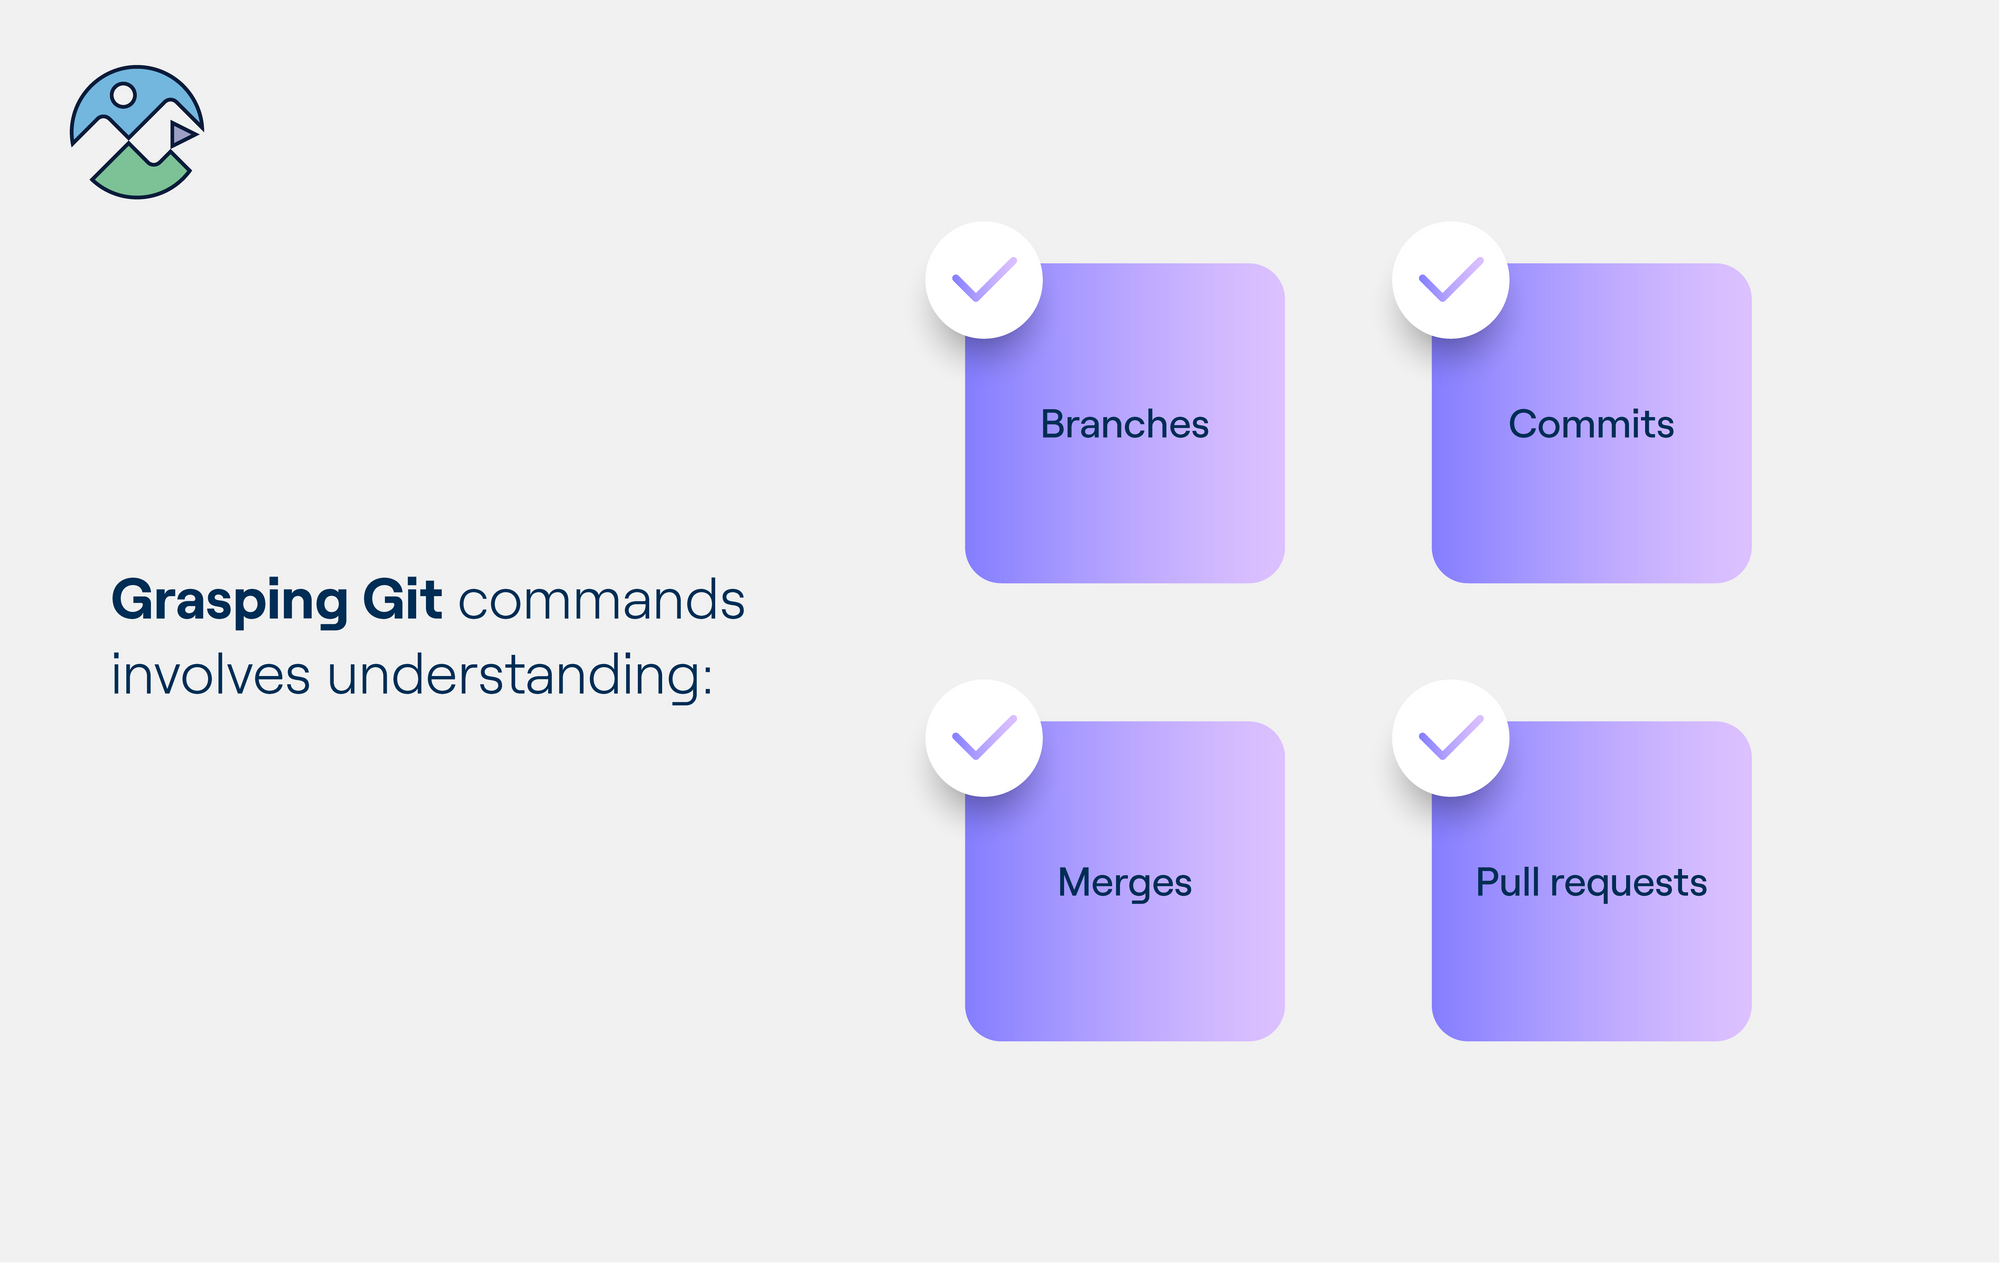
With SFDX Git workflows, users need to possess a solid grasp of Git commands, such as:
Viewing any changes made in your Salesforce metadata can challenge new users. This is because the process makes it difficult for non-Git experts to collaborate on Salesforce projects.
Additionally, the lack of visual tools in the SFDX Git workflow can create obstacles when tracking changes and troubleshooting issues, especially for users unfamiliar with Git commands.
🛠️
To address these challenges, companies often turn to third-party tools, such as Hutte, to simplify the process of tracking changes, streamline collaboration, and enhance visibility into Salesforce development activities.
Make sure you know how to work with Git and Hutte
Hutte offers a solution enabling users to take advantage of Git-based development visually without using the command line.
🖥️
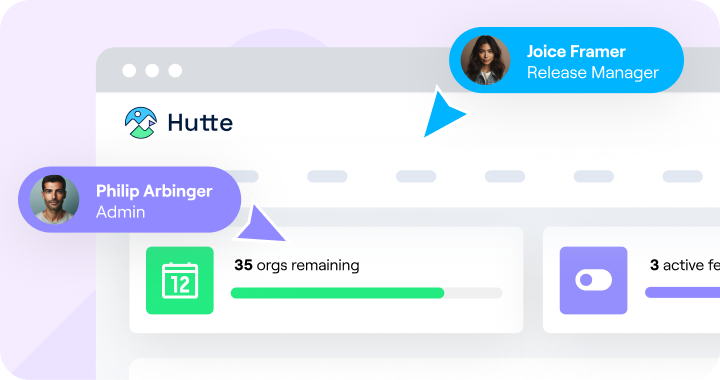
Hutte is a web-based user interface to SFDX that provides Salesforce version control, as well as the ability to create and manage Salesforce scratch orgs and sandboxes.
Hutte is code-free, removing all hassles associated with Git. This makes tracking changes more accessible and time-savingfor all team members.
Hutte removes the headache of using Git by integrating its UI directly into Git hosting tools like GitHub and Azure. This means that there is no need to fuss over Git installation.
Hutte is truly one of the best tools that we use. Product owners, Salesforce solution architects, business analysts — anyone on our team can easily and visually accomplish the tasks that would otherwise take a lot of clicks, time, and coding.
Sebastian Lechner
Product Management Director of IPfolio
For a detailed guide that shows you how to leverage the benefits of Git-based development with Hutte – in a visual way – please be sure to first read our article about Git version control.
It will tell you how to:
Take a scratch org from the pool (as you don’t need to create one from scratch
Create new metadata and execute changes
Pull your changes.
📄
Have you gone through Git version control? Great! Now it’s time to buckle up and start tracking your Salesforce metadata changes with Hutte by following this short and sweet guide.
Go to your changes
To get a first-hand feel of how Hutte works, start your free 30-day trial. Then, follow the steps below.
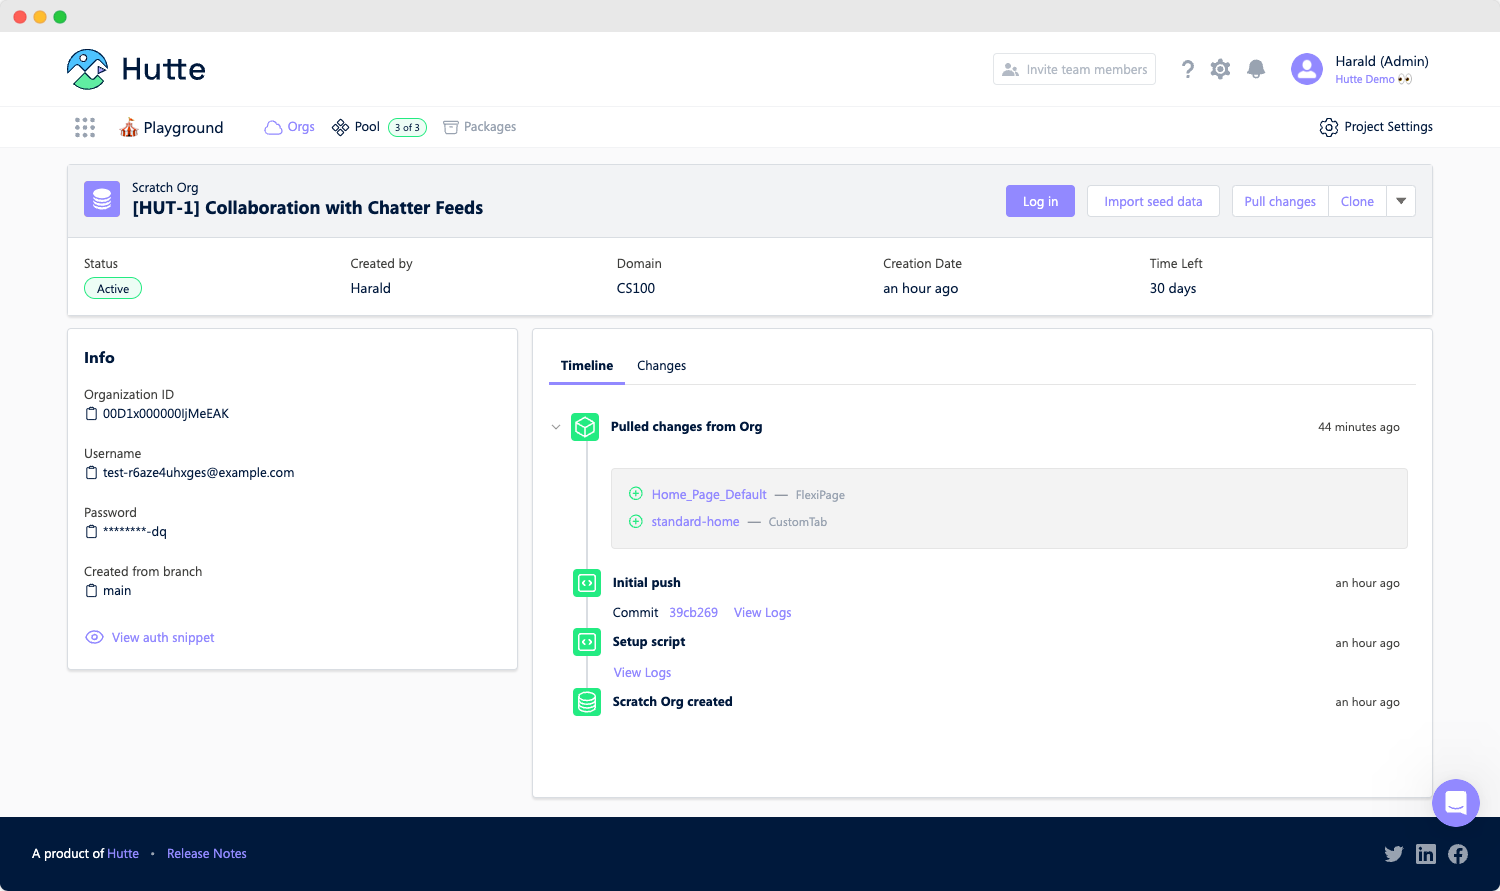
For starters, you need to have a look at the changes made to your org. To view the changes, you will go to the “Changes” tab.
In this example, the changes were the following:
“MyClass” was added
The admin profile was touched by adding a new class
The field change was added.
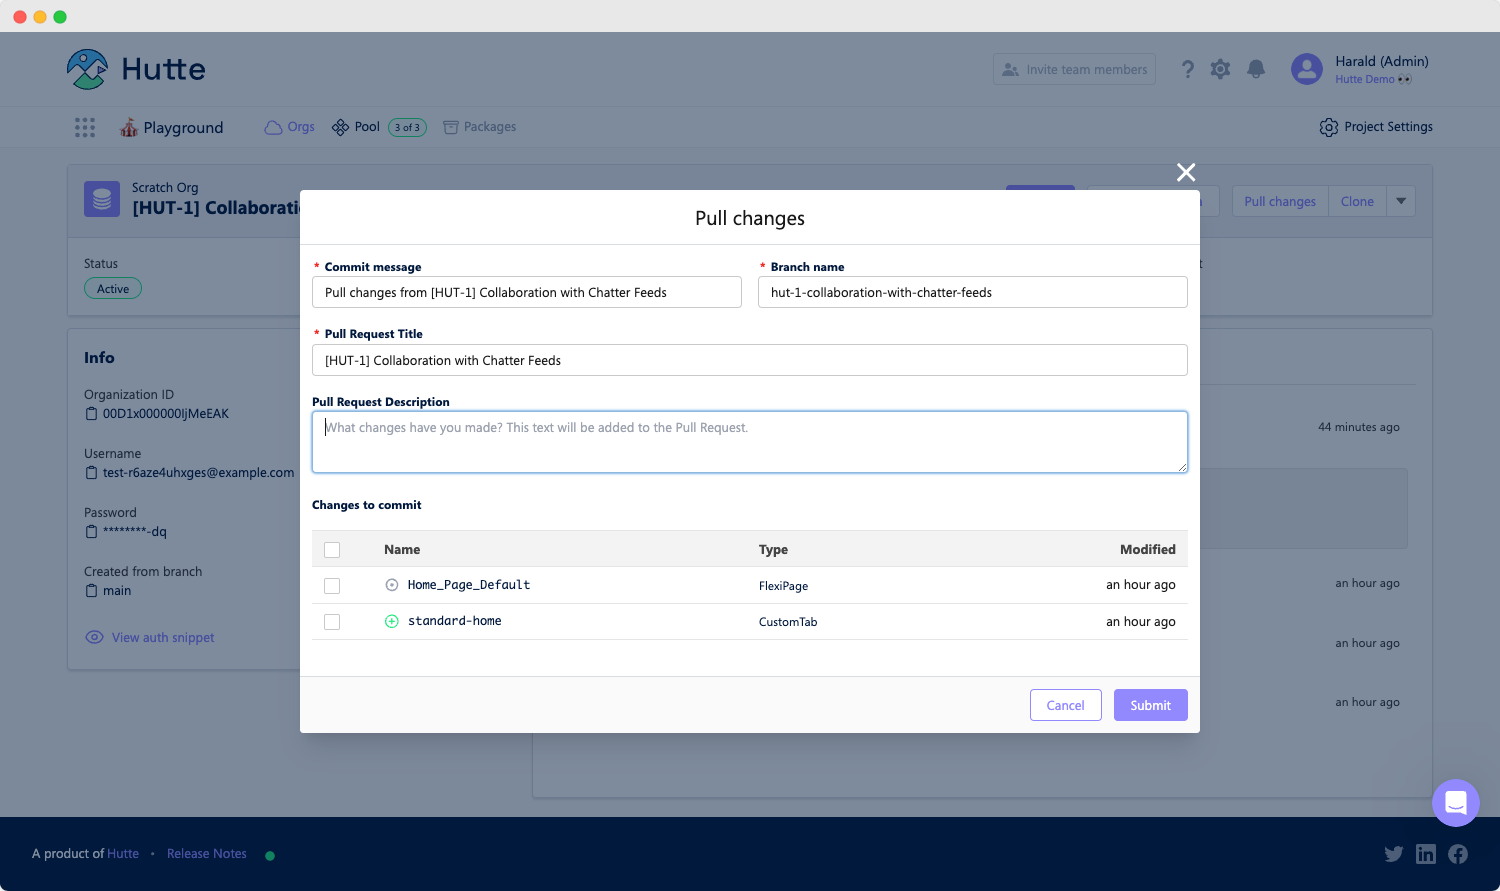
View your pulled changes
👀
From here, you can view what you (or others) have done. You can also track which changes were committed and what pull request was created and added into Git.
You can effortlessly monitor all the changes made to your org, including pull requests displayed in a convenient line-by-line comparison format.
And the best part? There’s no need to manually reproduce any of this data – Hutte generates and integrates it all for you.
Keep on track
Traditionally, monitoring alterations in Salesforce metadata entails an advanced understanding of Git version control, which could be intimidating for non-technical, no-code users.
🔎
However, Hutte simplifies the process, empowering anyone to effortlessly collaborate on Git and oversee changes and pull requests with ease.
If you would like an extra set of eyes to monitor your metadata tracking, consider conducting your Git-based development with Hutte.
Enhanced support for standard objects, including Account, Contact, and Opportunity, allows for more granular configuration and dynamic layouts, which can streamline metadata tracking and management.
Flow Orchestrator Enhancements
Improved capabilities for orchestrating complex business processes, including error handling and conditional logic, allow Salesforce admins to design workflows that are more easily monitored and tracked over time.
Lightning Web Components (LWC)
Enhanced LWC features include simplified component lifecycle management and new APIs, allowing for more versatile UI designs and better change tracking for developers.
Einstein AI Insights
Salesforce's AI-powered insights offer deeper analytics on customer data, helping businesses make informed decisions and enabling metadata adjustments that align with these insights.
Field-Level Encryption
New encryption options for custom fields ensure sensitive data remains secure, and changes to encryption settings are tracked within Salesforce metadata logs.
Enhanced Metadata API
Expanded capabilities of the Metadata API allow for more granular tracking of changes, particularly for Lightning page layouts and object permissions, streamlining metadata management.
Custom Metadata Relationships
Ability to create relationships between custom metadata types enhances data models and configurations, which can be tracked for efficient management of Salesforce projects.
Permission Set Group Enhancements
Ability to assign permission set groups to profiles directly and manage permission dependencies improves role-based access control, and changes to these groups are tracked automatically.
DevOps Center Updates
Improved integration with Salesforce's DevOps Center facilitates seamless tracking of metadata changes, deployment, and rollback functions, aligning with the article's focus on managing Salesforce metadata efficiently.
Harald is the Co-Founder of Hutte, bringing his vision of no-code DevOps to life. His passion enables teams and individuals to focus on what matters most – bringing value to the users they build for.