Loading seed data into Salesforce sandboxes is a common practice to populate the sandbox with representative data for testing purposes. Seed data refers to the initial data set required to mimic real-world scenarios and ensure the application behaves as expected.
The article discusses Hutte, a web UI to SFDX that facilitates visual Salesforce version control, making it easier for developers to manage sandbox seed data1. It allows for the creation, modification, and deletion of sandbox seed data with ease.
Hutte offers a free plugin like SFDMU (Salesforce Data Migration Utility) that enhances the importation of Salesforce sandbox seed data. There’s a recipe hosted on GitHub to help create scripts for custom buttons in Hutte.
The article outlines the process of connecting a Salesforce production org to Hutte for sandbox creation and metadata tracking. It also describes how to use Hutte’s Custom Buttons for automating and loading seed data into new development sandboxes.
To load seed data into a Salesforce sandbox, you can follow these general steps:
Identify the data you want to load into the sandbox. If your seed data includes custom objects or fields that don't exist in the sandbox, you may need to create them before loading the data.
Before loading seed data, it's essential to ensure that the sandbox is clean. Salesforce provides several data import tools that allow you to load data into a sandbox. One popular option is the Salesforce Data Import Wizard.
You can then map the fields in your CSV files to the corresponding Salesforce fields. Review the imported records to ensure they match your expectations.
With the seed data loaded into your Salesforce sandbox, you can perform testing and development activities.
Loading Salesforce sandbox seed data can be challenging when it comes to the following:
Seed data often contains a significant amount of data, which can be challenging to load efficiently.
When loading seed data, maintaining data consistency can be difficult. It's crucial to ensure that relationships and dependencies between objects are preserved.
Mapping data from external sources to Salesforce objects and fields can be complex, especially when dealing with different data structures and formats.
Seed data might include sensitive or confidential information. Proper security measures must be implemented. Validating the loaded data against the expected results is essential to ensure its accuracy and completeness.
Plant your sandbox seed data with Hutte
Are you looking to load seed data in sandboxes? Do it with Hutte using custom buttons.
🌱
With Hutte, a web UI to SFDX that enables visual Salesforce version control, Salesforce sandboxes become a labor-saving development workflow. Hutte enables developers to easily create, modify, and delete sandbox seed data as needed.
There are free plugins like SFDMU that enhance the importation of Salesforce sandbox seed data. We have an SFDMU Recipe hosted on GitHub that shows you how to create a script for your custom buttons. It is available for everyone to use – so be sure to check it out.
Hutte is truly one of the best tools that we use. Product owners, Salesforce solution architects, business analysts — anyone on our team can easily and visually accomplish the tasks that would otherwise take a lot of clicks, time, and coding.
Before you start loading your seed data, you need to know how to create your sandbox project through Hutte.
Setting up a sandbox project
Connect a Salesforce production org
Authenticate your org with your Salesforce user to grant your Hutte project access to sandbox creation and metadata.
Connect a git repository with a SFDX project
It can be an empty project or a local representation of your org's metadata. This is where you'll keep track of your sandbox development work.
💬
You can now choose an existing sandbox from "Available Sandboxes" or create one by clicking "New."
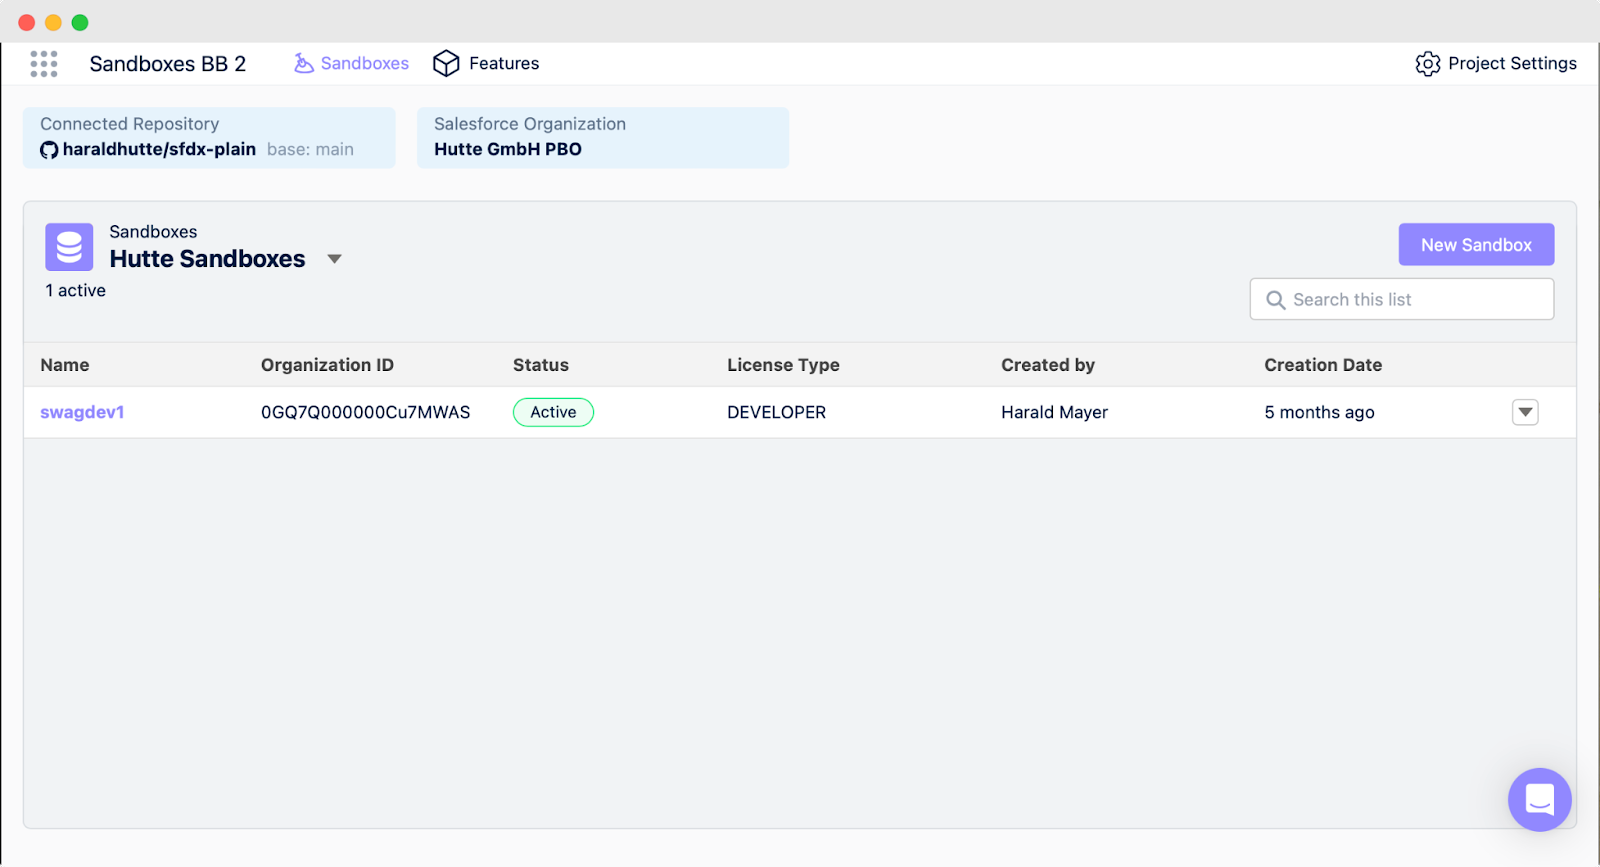
Developing in sandboxes
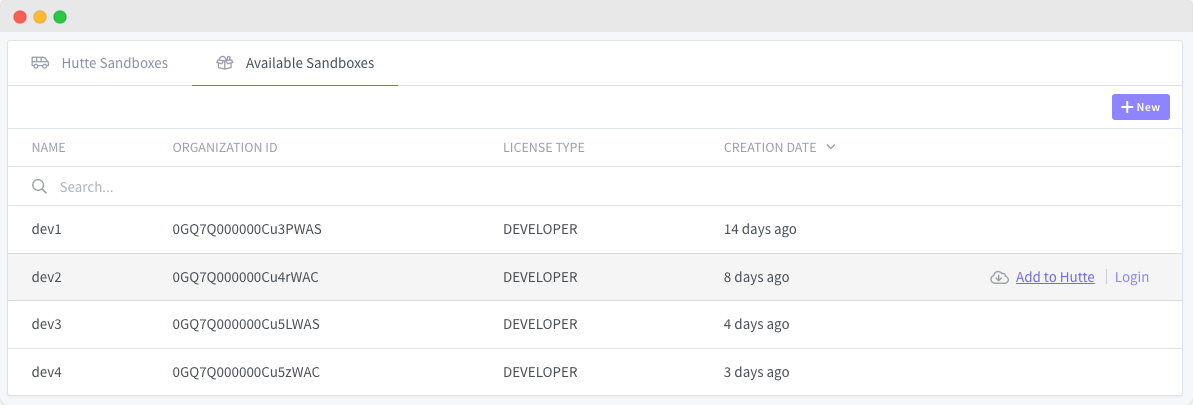
After setting up a sandbox project, you will find all existing sandboxes to your connected production org on the "Available Sandboxes" tab. You can also easily create new development sandboxes from the "New" button.
Before you start working on a feature, use the "Add to Hutte" link that appears when you hover your sandboxes over the "Available Sandboxes" tab.
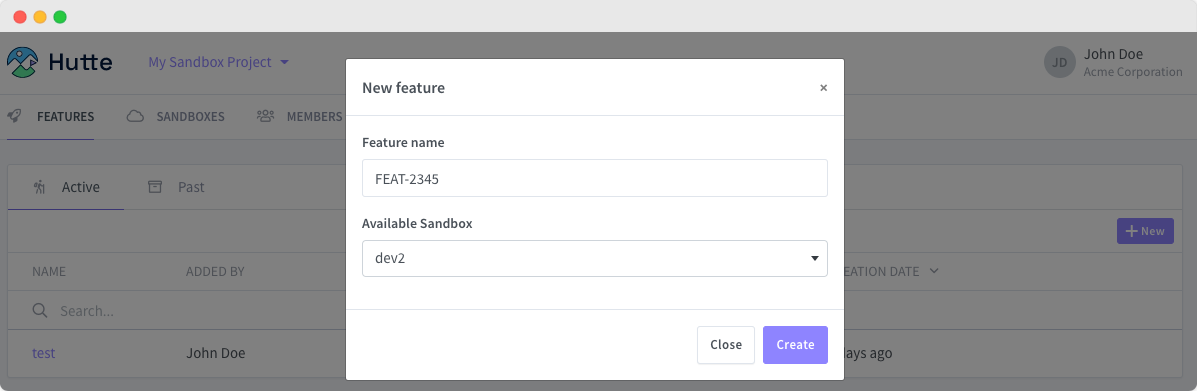
Switch to "Features" and hit "New."
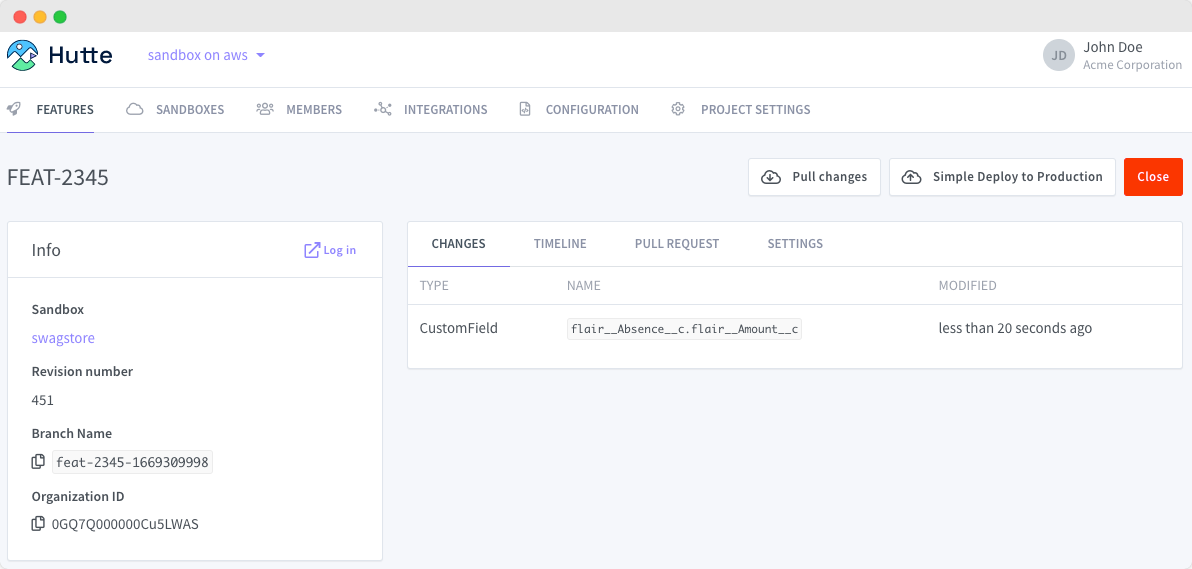
Next, click the "Login" button to log in to your sandbox. Your first login might require setting up two-factor authentication, following the on-screen instructions provided by Salesforce. Then, you can perform your work in your sandbox.
🖥️
Your changes in the org will become visible in Hutte shortly after you perform them (just remember to refresh your screen).
To continue with your changes in Git, click "Pull changes." This creates a pull request. You can control its name and message in the "Pull Request" tab. As you continue to perform changes, your pull request gets updated, and the timeline shows a chronological history of your changes.
Once you’re finished with your work, hit "Close." This allows a new feature to be created.
Use the simple “Deploy to Production" button to deploy all changes in a feature to your connected production org.
Use custom buttons
Leverage the power of automation and loading seed data into new dev sandboxes by making handy scripts available at your team member's fingertips.
This will allow you to configure Hutte Custom Buttons in your sandbox projects.
🕑
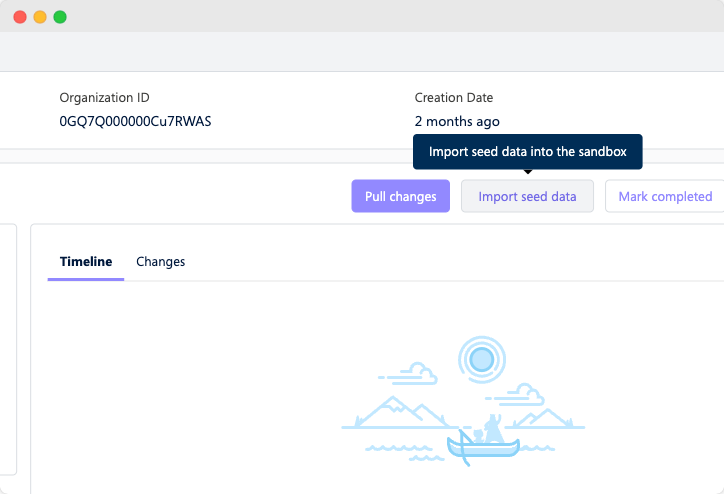
To begin the process, click “Import seed data” in your sandbox timeline.
Unleash sandbox seed data magic
Wave goodbye to the complexities of the intimidating command line. Hutte enhances how teams engage with sandbox seed data, allowing effortless access anytime, anywhere.
Elevate your sandbox experience with Hutte's Custom Buttons, where automation meets ingenuity. The possibilities are endless, from swift translation downloads to effortlessly creating new users.
Anything achievable with SFDX can now be seamlessly integrated into your customizable buttons.
Harald is the Co-Founder of Hutte, bringing his vision of no-code DevOps to life. His passion enables teams and individuals to focus on what matters most – bringing value to the users they build for.
Samantha is Hutte's Content Manager and Chief Editor. She has over six years of experience as both a content writer and a copywriter. Bringing the written word to life is the name of her game.