How to export current metadata from a Salesforce org
Picture this – you're on a ship, sailing the seas of data. You're the captain of your ship, and you've got a Salesforce org as your ship. Now, as any good captain knows, you need to keep track of your crew's movements and actions. That's where metadata comes in.
Harald is the Co-Founder of Hutte, bringing his vision of no-code DevOps to life. His passion enables teams and individuals to focus on what matters most – bringing value to the users they build for.
Samantha Spiro
Senior Content Manager & Editor-In-Chief
Samantha is Hutte's Content Manager and Chief Editor. She has over six years of experience as both a content writer and a copywriter. Bringing the written word to life is the name of her game.
Article highlights
Exporting metadata from a Salesforce org serves as a reliable backup for restoring the environment in case of data loss or corruption1.
It facilitates the migration of changes between environments and the deployment of new features and updates to production environments.
Provides visibility into the org’s structure and dependencies, enhancing management and optimization, and supports collaboration among team members.
Think of metadata as the ship's logbook. It records everything on board – who did what, where they went, what they saw, and so on.
Now, if you don't export your metadata regularly, you're essentially throwing away your logbook. And without that logbook, you're sailing blind.
If you want to avoid getting lost in the data sea, you need to export your metadata. That way, you can always refer to your logbook and make sure your crew is doing what they should. Some of the benefits of exporting current metadata from a Salesforce org include:
Backup and recovery
Exporting metadata provides a reliable backup of your Salesforce org's current configuration, which can be used to restore the environment in case of data loss or corruption.
Migration and deployment
It can migrate changes between environments or deploy new features and updates to production environments.
Visibility and insight
Exported metadata can provide insight into the structure and dependencies of your Salesforce org, enabling better management and optimization of your environment.
Collaboration
Exporting metadata can facilitate collaboration between developers and stakeholders, enabling them to review and discuss changes to metadata and ensure consistency across different environments.
Compliance and auditing
Exported metadata can be used for compliance and auditing purposes, providing a record of changes made to the environment over time.
⛵
So, loosen your sails and easily discover how to export current metadata from a Salesforce org.
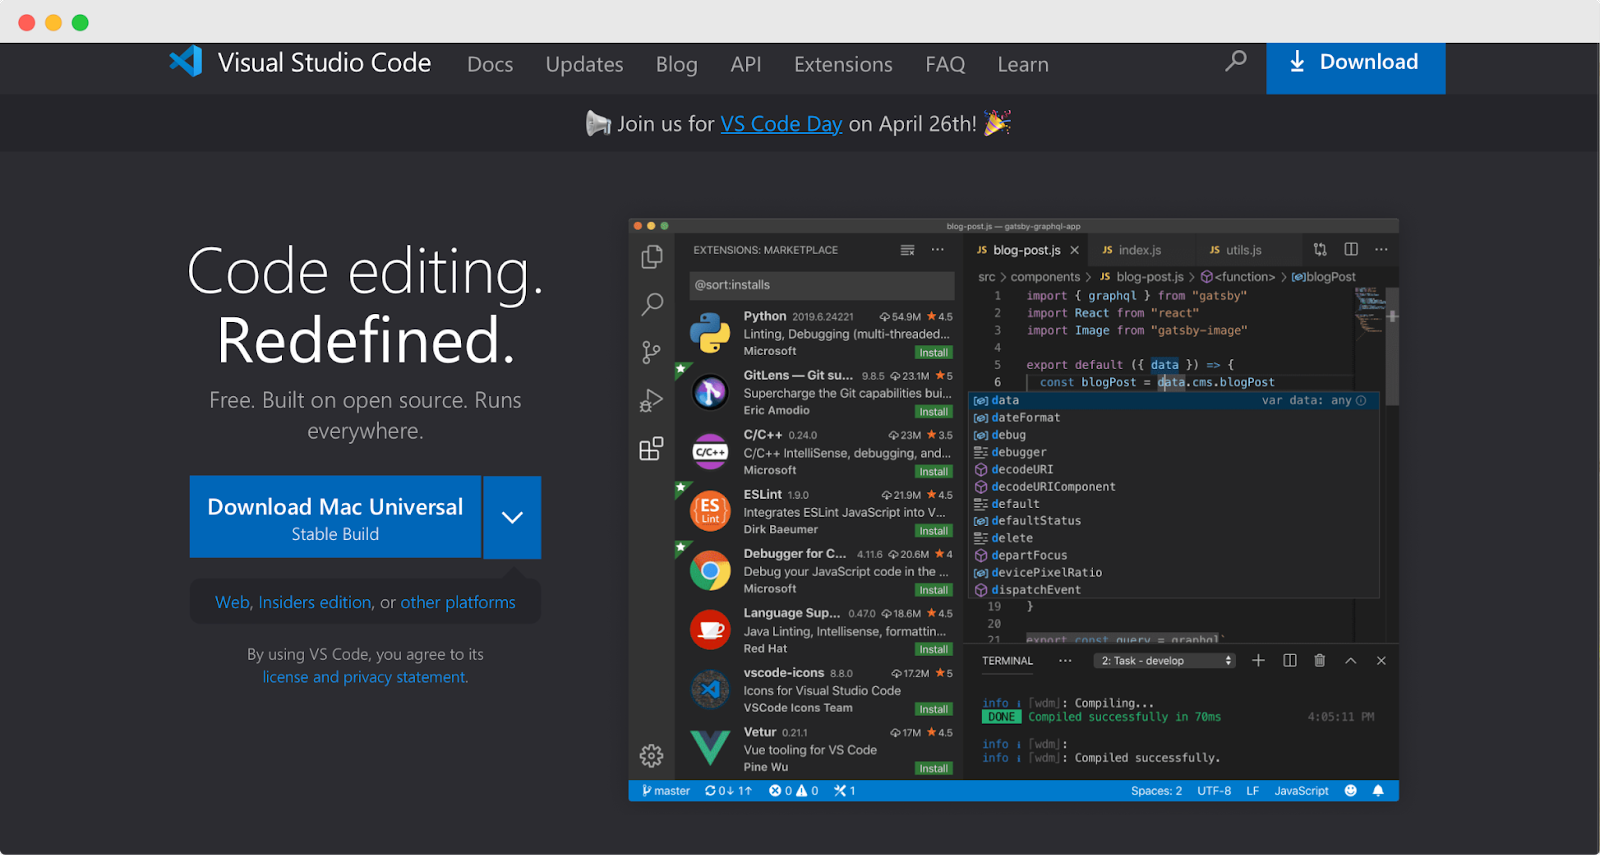
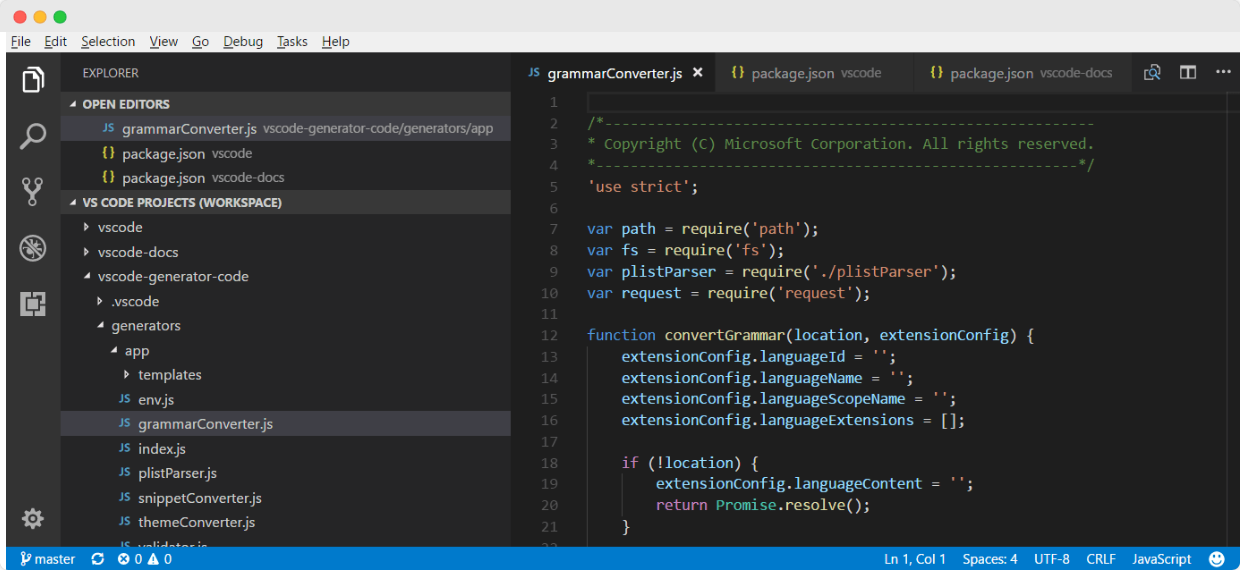
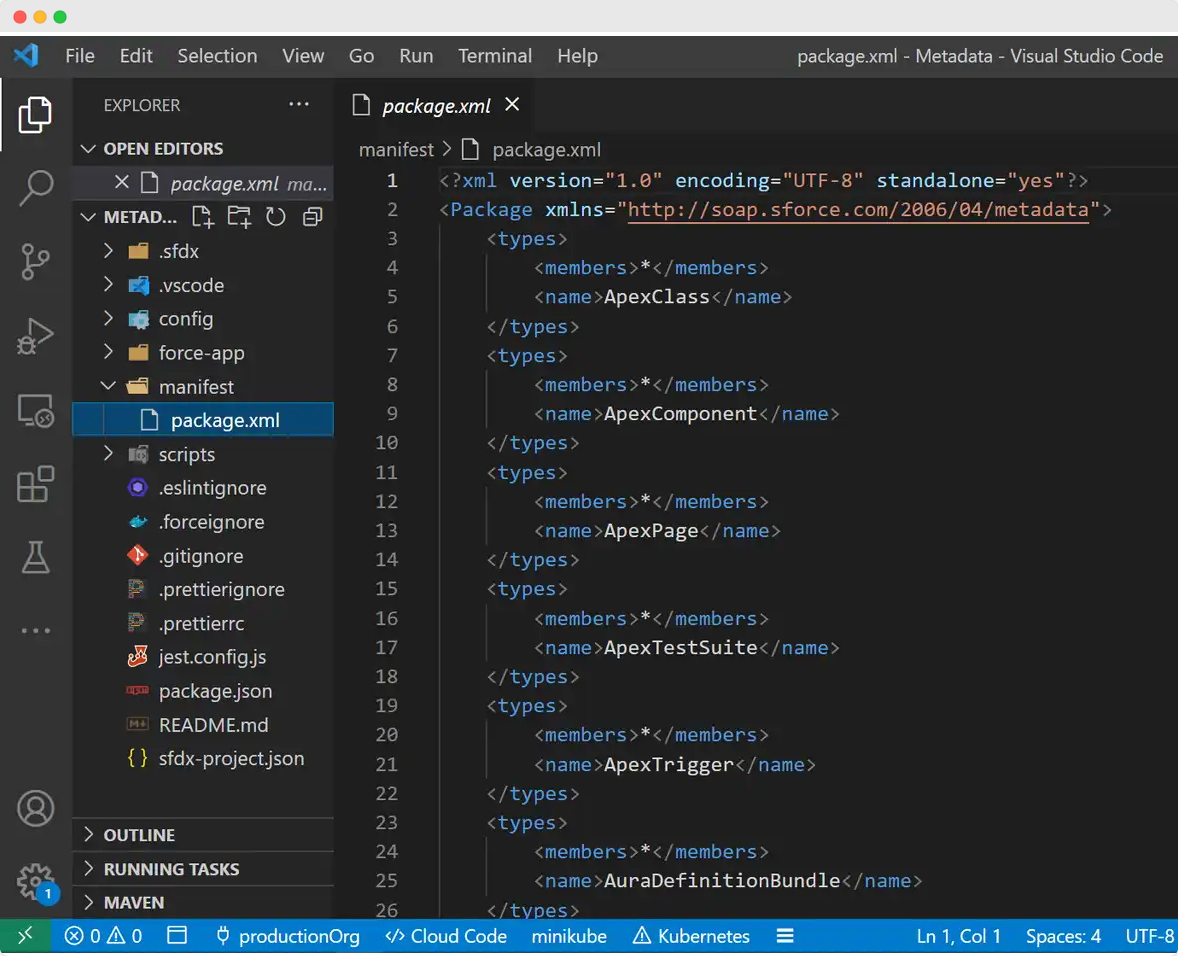
Step One: Open VS Code with SFDX extensions installed
Click on the cloud icon, “Org Browser,” in VS Code
If necessary, click on the “Refresh” icon
Select the metadata type you want to retrieve. For example, an Apex class
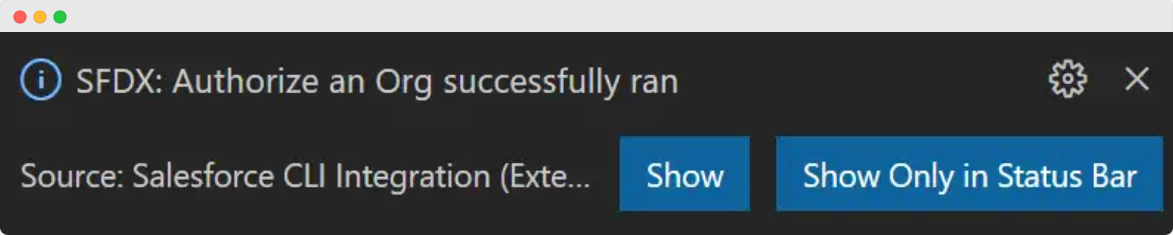
Click on the smaller cloud icon located next to your metadata type
If you get an error message – relaunch VS Code
Go back to the “File Explorer”
You can edit the metadata locally
Switch back to the org by right-clicking the component. Select “SFDX: Deploy Source To Org.”
It’s smooth sailing from here
🧭
Exporting current metadata may sound tedious, but it can provide exciting benefits. From reliable backups to migration and deployment, metadata exports are a lifesaver in case of data loss or corruption.
It can also give you the insight and visibility you need to optimize your environment and collaborate like a pro with other team members.
With compliance and auditing in mind, you can rest easy knowing your data is in good hands.
So, don't hesitate to export your metadata and unlock the full potential of your Salesforce development projects.
Harald is the Co-Founder of Hutte, bringing his vision of no-code DevOps to life. His passion enables teams and individuals to focus on what matters most – bringing value to the users they build for.
Samantha is Hutte's Content Manager and Chief Editor. She has over six years of experience as both a content writer and a copywriter. Bringing the written word to life is the name of her game.